by Kathleen
I read a fair number of decorating blogs. Some I like their sense of style, some I like their writing, some... I just haven't taken them off my bloglovin' list yet.
Many of the more "professional" ones seem to magically poof their rooms... from dull and bare into fully completed, painted, decorated, finished to the Nth detail showpieces. Yeah. That's not how it works in the real life me-world.
When we first moved into this house three years ago last July, there were things that we did right away because we couldn't stand to live with them any longer than we had to. We took up the first and second floor carpet to reveal untouched red oak flooring. We started cutting out the half dead and horribly overgrown hedges (cutting back many flowering shrubs makes them bloom more the next year). And we painted some walls, including the icky yucky ugly kitchen wallpaper.
And then we... stopped.
We had plans (boy, did we have plans!). But in the real world there are limits to our time and money, and to our energy after a long work day. And so painting cabinets, changing hardware, and things involving saws and wiring waited.
So I am thrilled, tickled turquoise even, to show that we did a big old bunch of work on the kitchen... finally!
Here is the kitchen from the listing agent as it was when we bought the house
The wallpaper was a speckled lattice with fruit design (that never looked clean). The cabinets were cream fronts with faux wood grained bases, and colonial style handles and hinges. There was a cooktop (an out-of-production Jenn-Air with two burners and a useless grill insert... that's two burners, TWO!) and a small wall oven. And a humongous non-functioning microwave... I have never seen a microwave that big or more broken.
Our immediate plan was paint the wallpaper, and toss the microwave, and that we did. The we planned and plotted and started collecting... I got a very nice used range for $75. We found a stainless steel range hood for $25. We got three metal and one wood sliding cabinet inserts for free from a friend who moved. We took the doors off the left upper and over-frig cabinets. We gathered paint chips, copied and shared inspirational photos. We got our ducks in a row.
Until finally... we were ready.
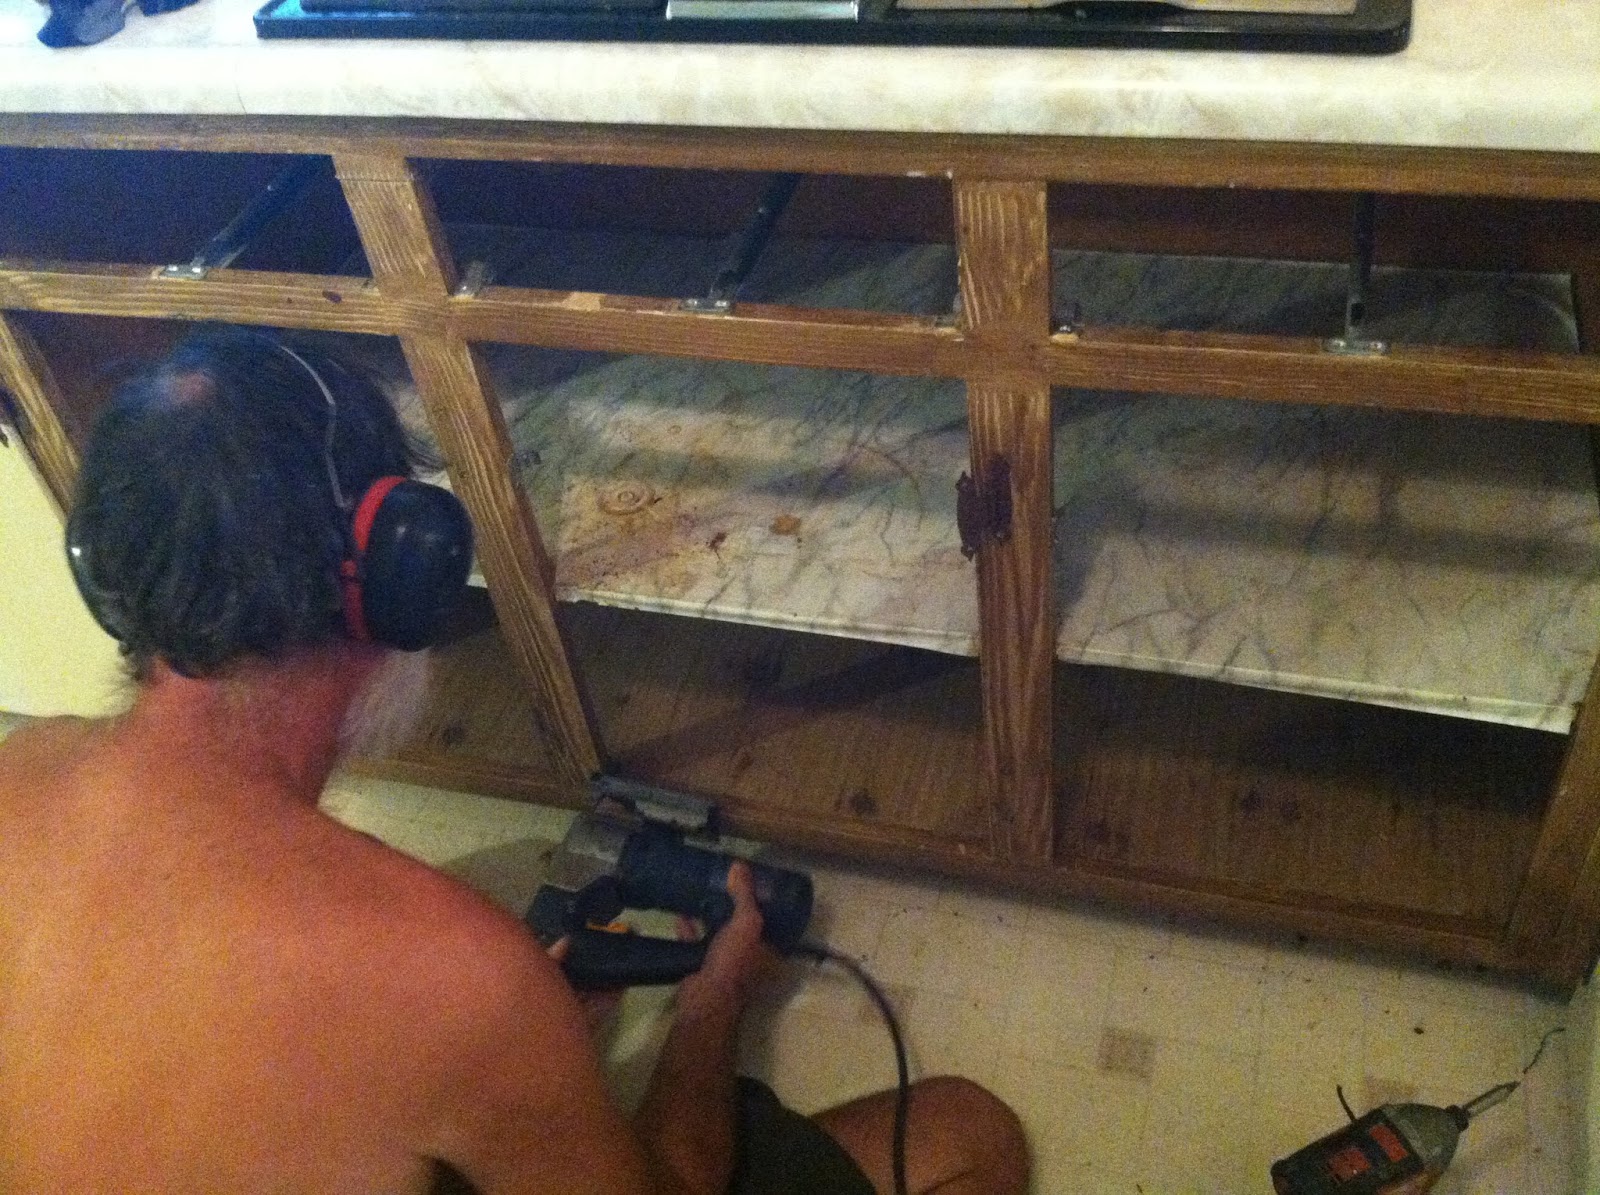
The first step was the heaviest construction wise. Jeff took out the cooktop and cut out the base cabinets for the range placement.
We knew about this dead fan, but...
(Hello back yard!)
this one next to it was a surprise.
Opening in base prepared, box for range hood made, and hood attached. Also right side upper cabinet gone. (the box to the right covers the AC vent for the next room so it'll have to stay)
Sides get closed in, painted and a surprise is added to the shallow right box.
A slide out knife board!
Very, very scary wiring... ooooooo.
Shiny happy new wiring!
(new skill for resume... pulling 50 feet of heavy gauge wire)
Also note lovely slide out cabinet insert... ooh ah.
Somewhere around here we painted the one upper cabinet and all the remaining walls white.
Then we could put the range in place and attach the stainless back splash.
Some time before, we had made an admittedly bold choice for the color we wanted on the lower cabinets. We were concerned that we were crazy... not for the first time. So we painted one set of cabinets and lived with it for several months. We found our love for the bold turquoise didn't fade, and we embraced it for the remainder of the base cabinets... and decided to use it as an accent on the window frame.
We also put up a temporary wire rack to hold spices...
And after looking for some time we lucked out on a handle style we both liked going on sale JUST as we committed to the work.
We want to change all the fixtures, but could only manage the over sink one this time around.
Still have one more magnet strip to apply. (and no, we have no children in the house and none visit)
DONE!!! for now...
This is phase two complete. This was a big work load as it involved all the cabinetry, some heavy duty wiring, and the range replacement. We still want to move a microwave into the cabinet above the wall stove (which we've kept). Make a more permanent, interesting, cabinet for spices. Replace the other two light fixtures. Change out the sink for an apron front style (I say stainless, he says white porcelain). Treat the vent covering box in some way. Paint the toe kicks black.
And two more biggies... change the counters (black we're thinking) and floors (still very up in the air, but probably a gray/black/white tile design).
But that's for another day... or rather another year.